A replacement pillow block depends on the machine beneath it. Check cleanliness, housing contact, structural support, mounting geometry, and any proposed shims before tightening. Separate a local seating problem from a weak frame or a shaft-alignment problem, and use the exact equipment and unit instructions for acceptance limits.
Contents
- 1. Identify the Unit and Its Intended Position
- 2. Prepare a Safe Inspection Area
- 3. Inspect Both Mating Surfaces
- 4. Check the Structure Beneath the Pad
- 5. Review Any Proposed Shims
- 6. Check Fastener Access and Follow the Specified Sequence
- 7. Record the Final Condition
- Information to Send with a Mounting Question
- Conclusion
- Technical references
- Frequently Asked Questions
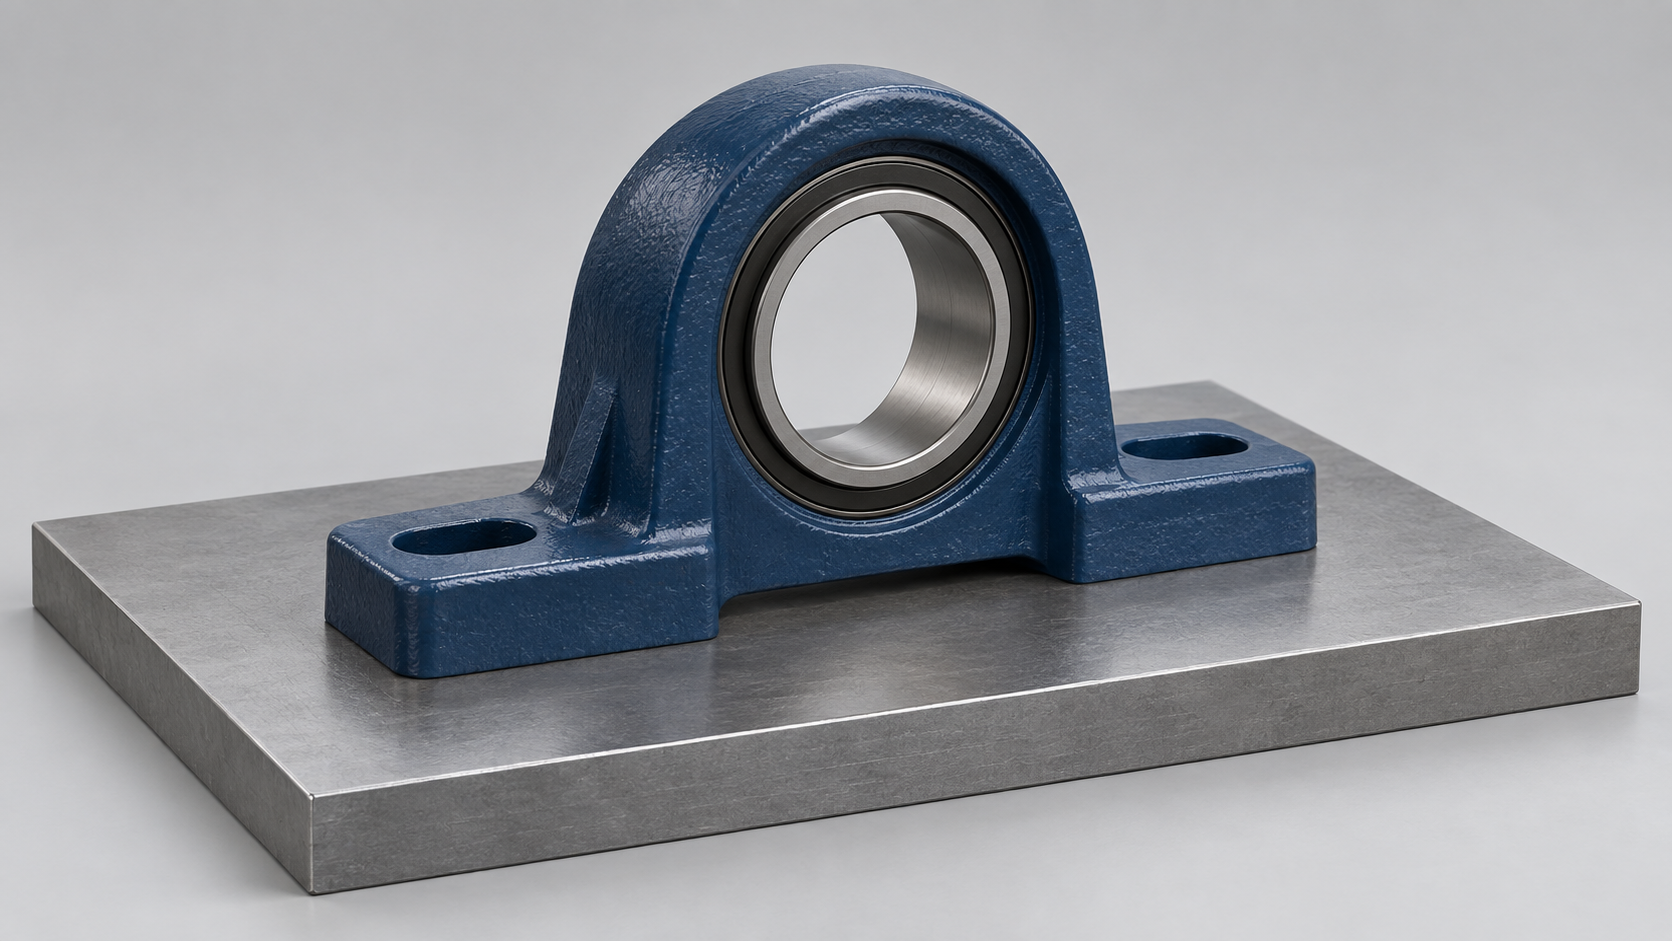
A new pillow block can fit the shaft and match the bolt pattern while still sitting poorly on the machine. A raised burr, accumulated debris, a damaged contact pad, or a distorted bracket can prevent the housing from seating as intended.
Before tightening the mounting bolts, inspect the interface between the housing and its support. The useful question is not simply whether the holes line up. It is whether the housing has the contact, position, and structural support required by the machine design.
1. Identify the Unit and Its Intended Position
Record the complete designation, shaft position, mounting orientation, and equipment drawing before removing the old assembly. A replacement with the same bore may have a different center height or foot arrangement. Use the pillow block replacement checklist for the dimensional comparison.
Photograph the existing support and any shims before disturbing them. Keep a record of where each part was fitted, but do not assume that an old arrangement was correct simply because the machine previously ran.
2. Prepare a Safe Inspection Area
Follow the equipment isolation procedure and secure the shaft and supported components before loosening the housing. Prevent belts, rollers, or other loads from moving as support is removed. Never inspect contact underneath a loaded, unsecured housing.
Make space to see and clean both mating surfaces. Keep loose particles away from the bearing and its seals. The contamination prevention guide covers the surrounding housekeeping considerations.
3. Inspect Both Mating Surfaces
Remove material that prevents contact
Inspect the housing feet and machine pads for loose dirt, corrosion products, burrs, damaged coatings, and displaced metal. Cleaning should reveal the actual surfaces without becoming uncontrolled machining. Record substantial damage before deciding on a repair.
Look for stable seating
NTN identifies a rigid, flat support and stable housing seating as installation requirements, and warns that an uneven frame can deform the housing and bearing.[1] Apply the limits specified for the exact equipment and unit; this article does not assign one flatness tolerance to all pillow blocks.
An obvious rocking condition or visible gap deserves investigation before final fastening. Do not use mounting bolts to pull an unsupported foot down and assume that the underlying problem is solved.
Distinguish local contact from overall position
A housing can sit firmly on one pad while its shaft center is incorrectly positioned relative to the other support. Local seating and overall shaft alignment are separate checks. The mounted-bearing self-alignment guide explains the limited role of the spherical insert-to-housing interface.
4. Check the Structure Beneath the Pad
A smooth surface does not by itself establish that the frame is sufficiently stiff. Inspect the bracket, supporting members, attachment points, and visible weld condition. Record cracking, corrosion loss, permanent distortion, or evidence that the support moves during operation.
SKF maintenance guidance treats support preparation as part of mounting work.[3] The appropriate structural assessment depends on the machine and applied loads. A thicker-looking plate, additional washers, or a new bearing is not evidence that a damaged support has been restored.
For an OEM inquiry, provide photographs showing the whole bracket as well as close-ups of the mounting face. A close-up alone may hide the unsupported span beneath the bearing.
5. Review Any Proposed Shims
Confirm what the shim is intended to correct
Establish whether the adjustment concerns shaft center height, alignment, or an identified seating error. Select the correction through the equipment procedure rather than adding pieces until a gap disappears.
Maintain the specified support footprint
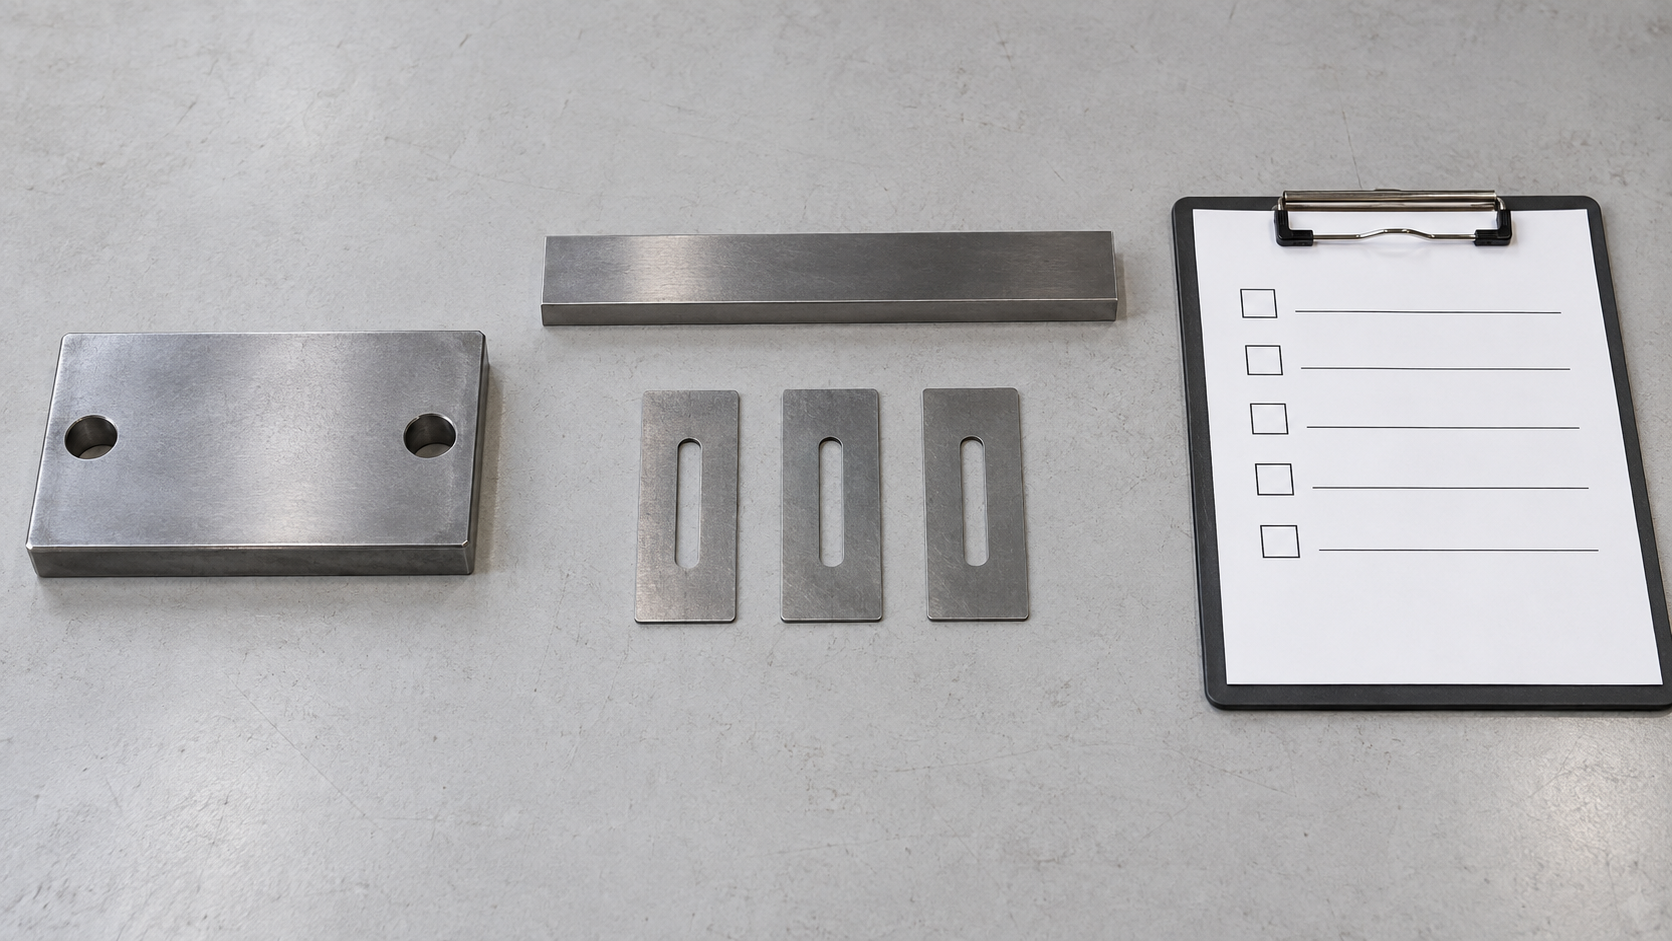
SKF's ball-bearing-unit mounting instructions call for clean, flat supporting surfaces and full support-surface coverage when shims are used to adjust pillow-block elevation.[2] Confirm the footprint required by the particular housing and machine. Small improvised packing pieces can leave parts of a foot unsupported.
Keep shims clean, flat, securely located, and clear of required bolt passages. Record the final arrangement. Do not infer an allowable stack height, material, or number of layers from an illustration.
6. Check Fastener Access and Follow the Specified Sequence
Before assembly, confirm that the specified fasteners, washers where required, and tools can be fitted without interference. Check for damaged threads and obstructions around slots. Mounting-bolt torque and shaft-locking screw torque serve different connections; do not interchange their values.
NTN cautions that excessive mounting-bolt tightening can distort a housing.[1] Use the instructions for the unit and machine, including the prescribed fastening sequence. A general blog cannot provide a universal tightening value or substitute for those instructions.
7. Record the Final Condition
After the approved mounting and alignment procedure, document what was checked and any repairs or adjustments made. Where the equipment procedure permits a manual rotation check, perform it with the machine isolated and moving loads controlled.
Restore guards before the authorized commissioning procedure. If abnormal movement, noise, or temperature appears, stop and investigate according to the equipment procedure. A symptom alone does not prove that the mounting base is the cause.
For the wider installation sequence, refer to the insert bearing installation guide.
Information to Send with a Mounting Question
Provide the unit designation, mounting orientation, shaft arrangement, pad dimensions, bolt pattern, photographs of both contact surfaces, and a view of the supporting frame. Add the observed gap or movement, existing shim arrangement, relevant drawing requirements, operating speed, load information, and repair history.
For replacement supply, include quantity and packing requirements. View the UCP series or contact Cixi CTZ at ctz@ctz-bearing.com. WeChat: DM161116.
Conclusion
Inspect the support before treating fastening as the final step. Clean contact surfaces, stable seating, an adequate frame, suitable shimming, and verified alignment each answer a different installation question. Record problems and resolve them against the actual machine and bearing requirements before commissioning.
Technical references
[2] SKF — Mounting instructions for ball bearing unit pillow blocks and flanged housings. Basis for cleaning contact surfaces and support coverage when shimming. Product-specific torque instructions are not generalized.
[3] SKF — Bearing Maintenance Handbook. General mounting and support-preparation context.
Key Takeaways
- Inspect both mating surfaces and confirm stable housing contact before fastening.
- Check frame support, shim coverage and shaft alignment as separate installation requirements.
- Use the equipment and unit instructions for acceptance limits, fasteners and commissioning.
Frequently Asked Questions
Can mounting bolts flatten an uneven pillow block base?
They should not be used as a repair for poor seating. Pulling a housing onto an uneven support can distort it. Determine why contact is uneven and use an approved correction.
Does a self-aligning insert compensate for a damaged mounting surface?
No. The insert-to-housing interface does not restore the support surface, frame stiffness, or correct position of separate bearing supports.
Can I use shims under a pillow block?
Shims may be part of an approved adjustment procedure. Confirm their material, support coverage, position and arrangement for the exact unit and equipment; do not use isolated packing pieces as an assumed universal fix.
What mounting-surface flatness should I specify?
Use the applicable unit instructions and equipment drawing. There is no single limit in this article that applies to every housing, size, load and mounting arrangement.
Should I use the same torque for the mounting bolts and bearing set screws?
No. They fasten different interfaces and may have different sizes, materials and requirements. Obtain the specified value and sequence for each connection.
Need bearing units for your market?
Send us the model number, quantity, packing requirement and destination port. Our sales team will reply with a competitive quotation and delivery schedule.
Send Inquiry