Contents
- Why Document the As-Found Condition?
- Record the Machine and Operating History
- Photograph the Assembly Before Disturbing It
- Preserve Position and Component Relationships During Removal
- Keep the Bearing and Samples Protected
- Assemble a Clear Review Package
- What to Do After Documentation
- Key Takeaways
- Frequently Asked Questions
When a mounted bearing fails earlier than expected, the first instinct may be to remove it, wipe it clean, and order a replacement. If the cause is uncertain, pause before changing the evidence. The bearing’s position, lubricant condition, seals, shaft seat, housing, and surrounding machine can all provide context for a later investigation.
This guide is a documentation checklist, not a failure diagnosis or disassembly procedure. Follow the machine owner’s isolation and safety rules, and use qualified personnel for inspection or removal. If the equipment cannot be made safe, do not approach or handle it just to take photographs.
Why Document the As-Found Condition?
A mark on a raceway or a discolored surface rarely tells the entire story by itself. A visible condition may be the original damage, a consequence of another problem, or a mark created during removal. Operating history and machine context help a qualified reviewer interpret what is visible.
SKF’s bearing-damage guidance recommends collecting relevant application information, documenting the removal, taking photographs, marking component positions, and protecting parts for further analysis. It also cautions against cleaning bearings intended for such review. Follow the instructions of the analyst or bearing supplier for the specific case; not every inspection requires the same level of evidence preservation.
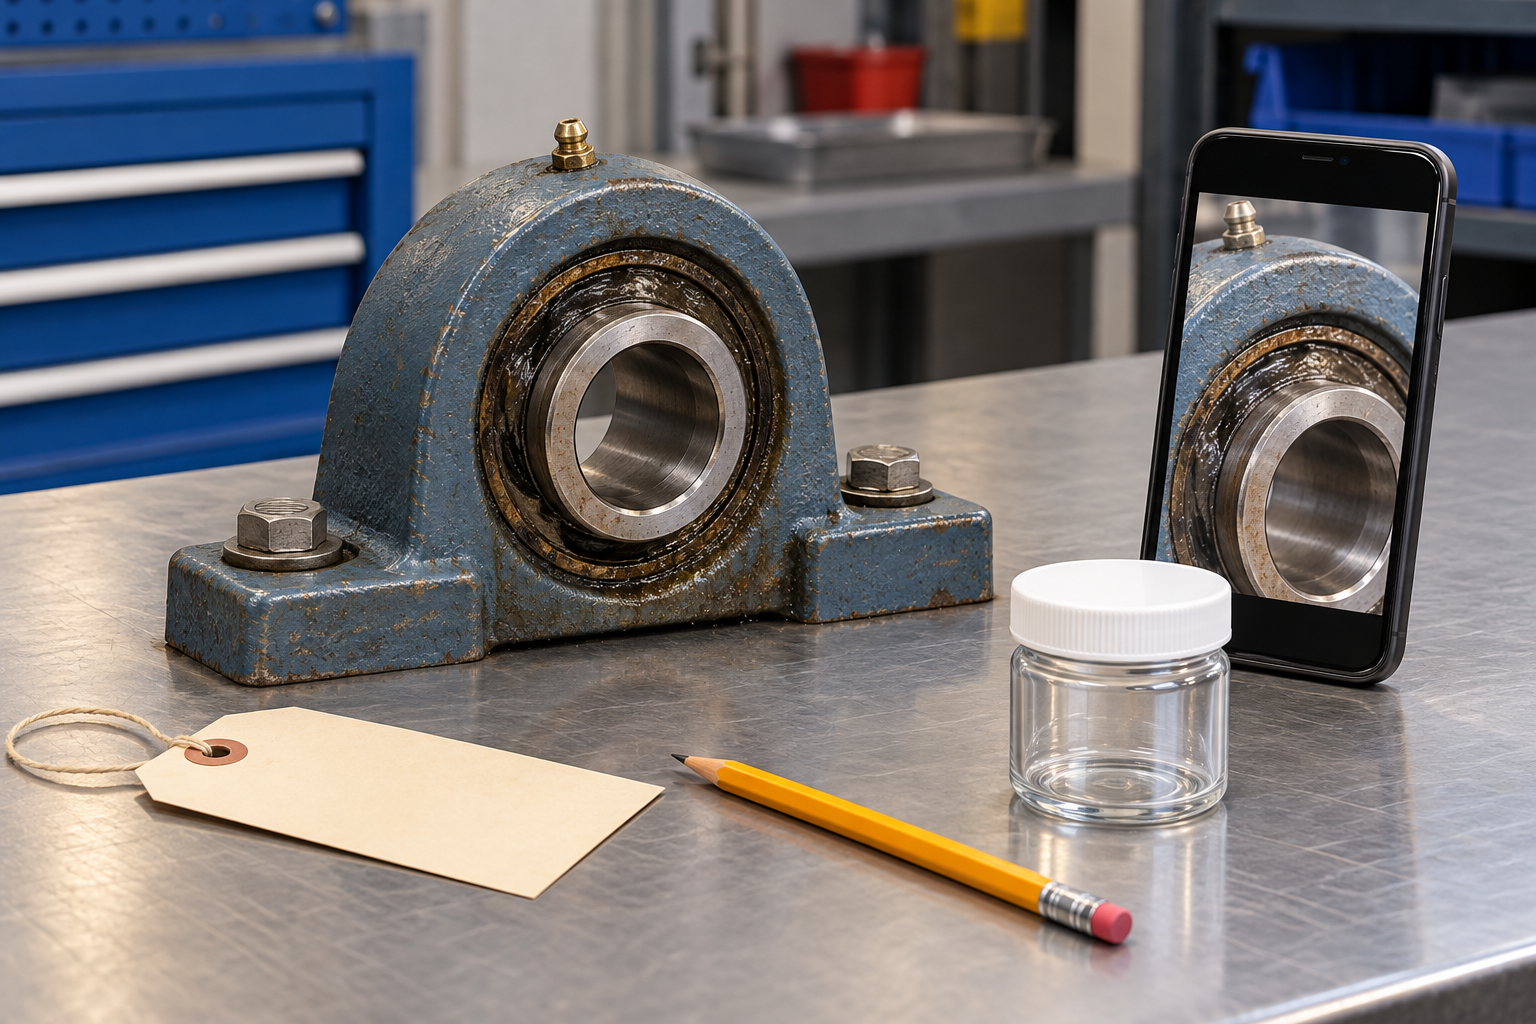
1. Record the Machine and Operating History
Before removing anything, note the asset or machine identifier, the bearing position, the unit designation if readable, shaft orientation, and the date the issue was found. Record when the bearing was installed, how long it ran, and what changed before the problem appeared.
| Record | Details to collect |
|---|---|
| Operating conditions | Shaft speed, load direction, duty cycle, and any known shock or reversing conditions |
| Condition history | Temperature, vibration, noise, and monitoring records, with dates or times |
| Maintenance | Lubricant type, last relubrication, grease or oil changes, unusual purge, or leakage |
| Environment | Water, dust, chemicals, crop material, washdown, or other process exposure |
| Recent changes | Machine, shaft, coupling, belt tension, alignment, guarding, or schedule changes |
Label unknown information as unknown. A guessed load, temperature, or event can make a review less reliable than an incomplete but honest record.
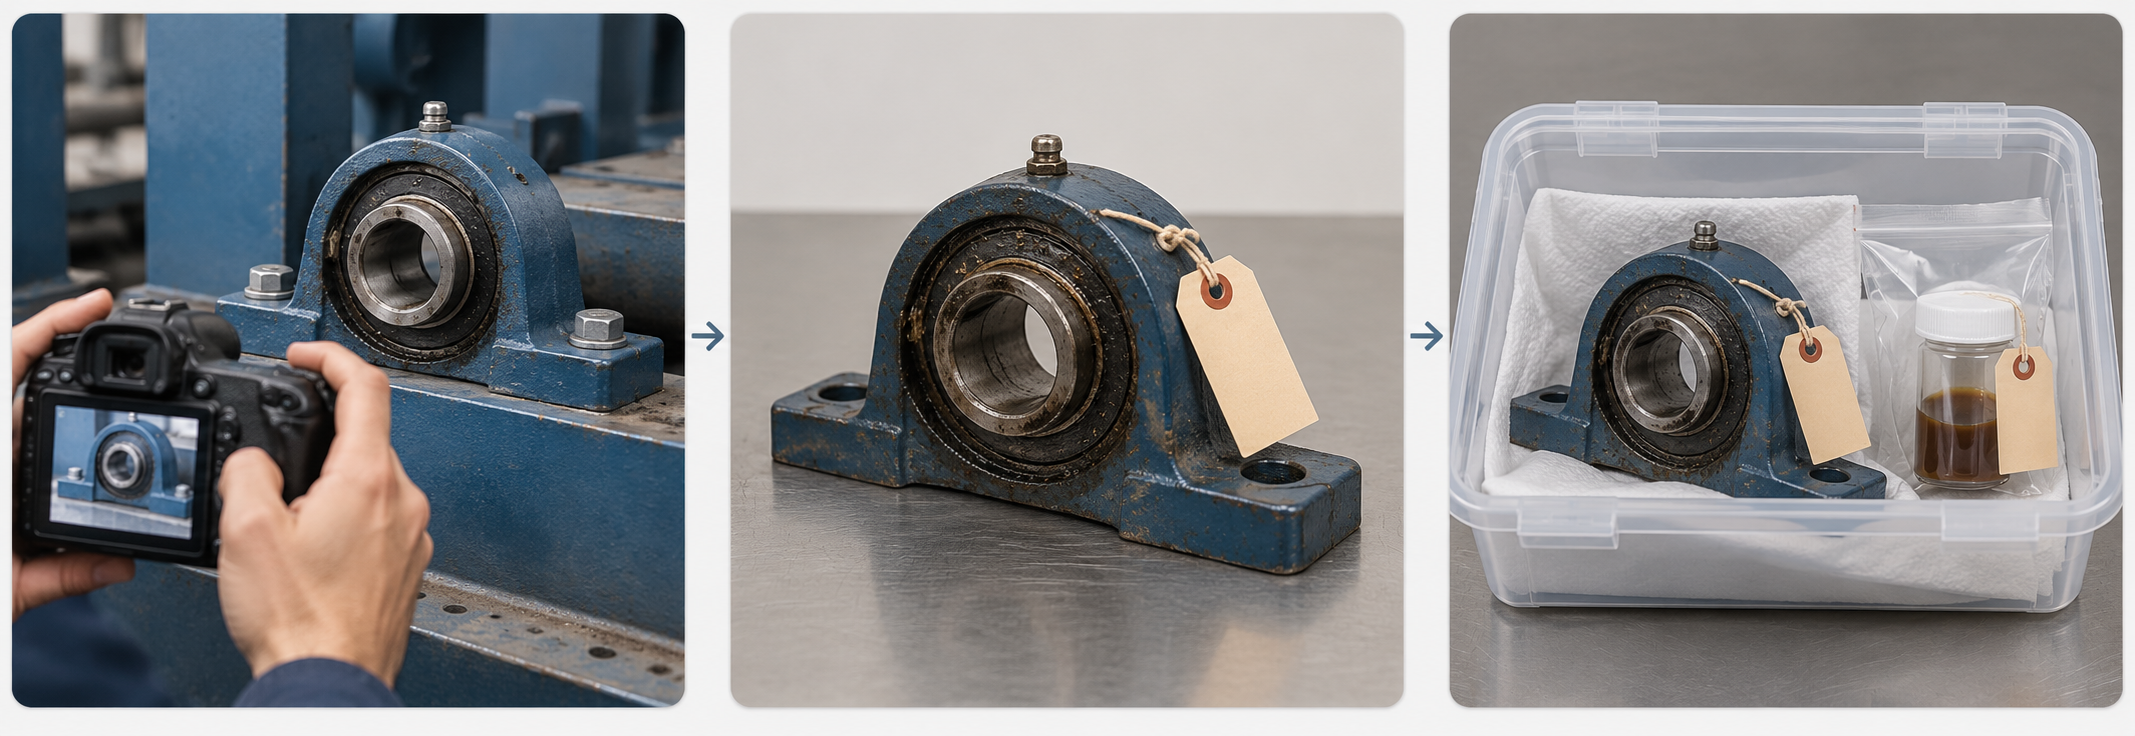
2. Photograph the Assembly Before Disturbing It
Take an overall image that shows where the bearing sits in the machine, then closer views of the housing, shaft entry, seals, locking feature, grease fitting, mounting bolts, and nearby components. Include a ruler or scale only when it can be placed safely without touching or altering the evidence. Make sure the images are in focus and keep an unedited original copy.
Photograph visible lubricant leakage, corrosion, fretting marks, loose or displaced parts, damaged seals, and contact marks on the support. Do not frame only the most obvious damage: adjacent components and the machine arrangement may help explain how the bearing was loaded.
3. Preserve Position and Component Relationships During Removal
If removal is necessary and safe, record the procedure and mark the bearing’s orientation and location before separating components. Label parts so the inner ring, housing, seals, locking parts, and any loose debris remain associated with the correct machine and position. Use a method that does not scratch a surface that may need inspection.
Avoid running, spinning, polishing, scraping, or washing the damaged bearing to make it look clearer. Do not discard the grease, seal, fasteners, or adjacent damaged pieces until the reviewer confirms they are not needed. A supplier or specialist may ask for additional photographs or specific handling steps.
4. Keep the Bearing and Samples Protected
Until you receive case-specific instructions, protect the removed bearing from additional dirt, moisture, impact, and corrosion. Keep parts from different bearing positions separate. If a lubricant sample is requested, use a clean, suitable, closed container and identify where and when it was collected; do not mix samples from different locations.
Follow site rules and applicable shipping requirements for lubricant or contaminated parts. Do not send a sample or component through a carrier until its contents, packaging, and transport requirements have been checked.
5. Assemble a Clear Review Package
When contacting a bearing supplier or failure-analysis specialist, organize the material so each item can be tied to the same asset and bearing position:
| Record | What to include |
|---|---|
| Identification | Bearing and housing markings, machine ID, position, and installation date if known |
| Machine context | Overall arrangement, shaft direction, support layout, and photographs before removal |
| Operating history | Runtime, speed, loads if known, environment, and changes before the event |
| Maintenance | Lubricant identification, service dates, relubrication history, and prior inspection observations |
| Removed parts | Orientation marks, removal notes, condition photographs, and protected components |
| Measurements | Relevant shaft or housing-seat measurements, with the tool and location noted if available |
| Questions | What changed, what is uncertain, and whether the need is cause review, replacement, or application check |
Keep raw instrument records and original image files where available. A short timeline—installation, maintenance, first symptom, shutdown, and removal—can be more useful than a long description with no dates.
What to Do After Documentation
Do not treat a photo-based opinion as proof of a single root cause. If the failure is repeated, safety-critical, or associated with damage to the shaft or housing, request an appropriate technical investigation before returning the machine to service. For a replacement inquiry, compare the complete designation, shaft size, mounting dimensions, locking method, and operating conditions; see the pillow block bearing replacement checklist.
For general examples of possible failure causes, see Common Causes of Pillow Block Bearing Failure. For removal and installation context, refer to the insert bearing installation guide. These pages are general information and do not replace the exact product instructions or the machine owner’s maintenance procedure.
For a Cixi CTZ product or application inquiry, email ctz@ctz-bearing.com or contact us on WeChat: DM161116. Include the model, machine context, and available photographs; do not send confidential plant information unless you are authorized to share it.
Key Takeaways
| Practice | Purpose |
|---|---|
| Record machine context and operating history before disturbing the bearing | Preserve the conditions that help a reviewer interpret the evidence |
| Photograph before cleaning or disassembly and retain original images | Document both the assembly and visible condition |
| Preserve component positions and protect parts | Keep evidence associated with the correct machine and bearing location |
| Keep samples separate and identified when requested | Avoid mixing material from different sources |
| Do not infer root cause from one mark | Leave diagnosis to evidence-based technical review |
Frequently Asked Questions
Should I clean a failed bearing before sending it for review?
Do not clean it unless the person conducting the review asks you to. Cleaning can remove lubricant, debris, or surface evidence that may be relevant. Protect the bearing and follow case-specific handling instructions.
What photographs are most useful after a mounted bearing failure?
Start with the bearing in its machine context, then photograph the housing, shaft entry, seals, locking feature, lubricant condition, mounting surface, and adjacent parts. Take clear close-ups as well as overall views, and retain the original files.
Can a photograph identify the root cause of bearing failure?
Usually not by itself. Damage patterns can have multiple possible explanations, and removal or secondary damage can change their appearance. A reviewer may need operating records, measurements, lubricant information, and the bearing itself.
Should I keep the grease and seals from a removed bearing?
Keep them separate and identified until the reviewer tells you what is needed. If a lubricant sample is requested, collect it in a suitable clean container and record its source and collection date.
What information should I send with a replacement request?
Provide the full bearing and housing designation if readable, shaft and mounting dimensions, machine position, operating conditions, lubricant and seal details, maintenance history, and clear photographs. Identify missing or uncertain information instead of guessing.
Technical References
SKF, Bearing damage and failure analysis. Used for general evidence-preservation and documentation guidance. Follow the instructions of the reviewer handling the specific case.
Key Takeaways
- Record the machine context and operating history before disturbing the bearing.
- Photograph the assembly before cleaning or disassembly, and keep the original images.
- Preserve component positions and protect parts until a qualified reviewer advises otherwise.
- Keep lubricant samples separate, cleanly contained, and clearly identified when requested.
- Do not diagnose the root cause from one visible mark or an unverified assumption.
Frequently Asked Questions
Should I clean a failed bearing before sending it for review?
Do not clean it unless the person conducting the review asks you to. Cleaning can remove lubricant, debris, or surface evidence that may be relevant. Protect the bearing and follow case-specific handling instructions.
What photographs are most useful after a mounted bearing failure?
Start with the bearing in its machine context, then photograph the housing, shaft entry, seals, locking feature, lubricant condition, mounting surface, and adjacent parts. Take clear close-ups as well as overall views, and retain the original files.
Can a photograph identify the root cause of bearing failure?
Usually not by itself. Damage patterns can have multiple possible explanations, and removal or secondary damage can change their appearance. A reviewer may need operating records, measurements, lubricant information, and the bearing itself.
Should I keep the grease and seals from a removed bearing?
Keep them separate and identified until the reviewer tells you what is needed. If a lubricant sample is requested, collect it in a suitable clean container and record its source and collection date.
What information should I send with a replacement request?
Provide the full bearing and housing designation if readable, shaft and mounting dimensions, machine position, operating conditions, lubricant and seal details, maintenance history, and clear photographs. Identify missing or uncertain information instead of guessing.
Need bearing units for your market?
Send us the model number, quantity, packing requirement and destination port. Our sales team will reply with a competitive quotation and delivery schedule.
Send Inquiry