Contents
- First Distinguish Resistance from Successful Relubrication
- Common Reasons a Mounted Bearing Will Not Take Grease
- A Safe Diagnostic Sequence
- What Not to Do
- Information to Send for Technical Review
- Conclusion
- Technical References
- Frequently Asked Questions
A grease gun that suddenly becomes difficult to operate is not a signal to push harder. Resistance can come from the gun or coupler, a damaged or contaminated fitting, grease that will not pump under the current conditions, a blocked passage, an unsuitable insert-and-housing combination, or a cavity with no effective outlet for displaced grease.
The correct response depends on the exact mounted bearing unit and its relubrication design. Some units are intended for periodic relubrication, while others may use sealed or maintenance-free arrangements. Before changing a fitting, opening an outlet, or adding more grease, identify the product and follow the equipment and bearing manufacturers' instructions.
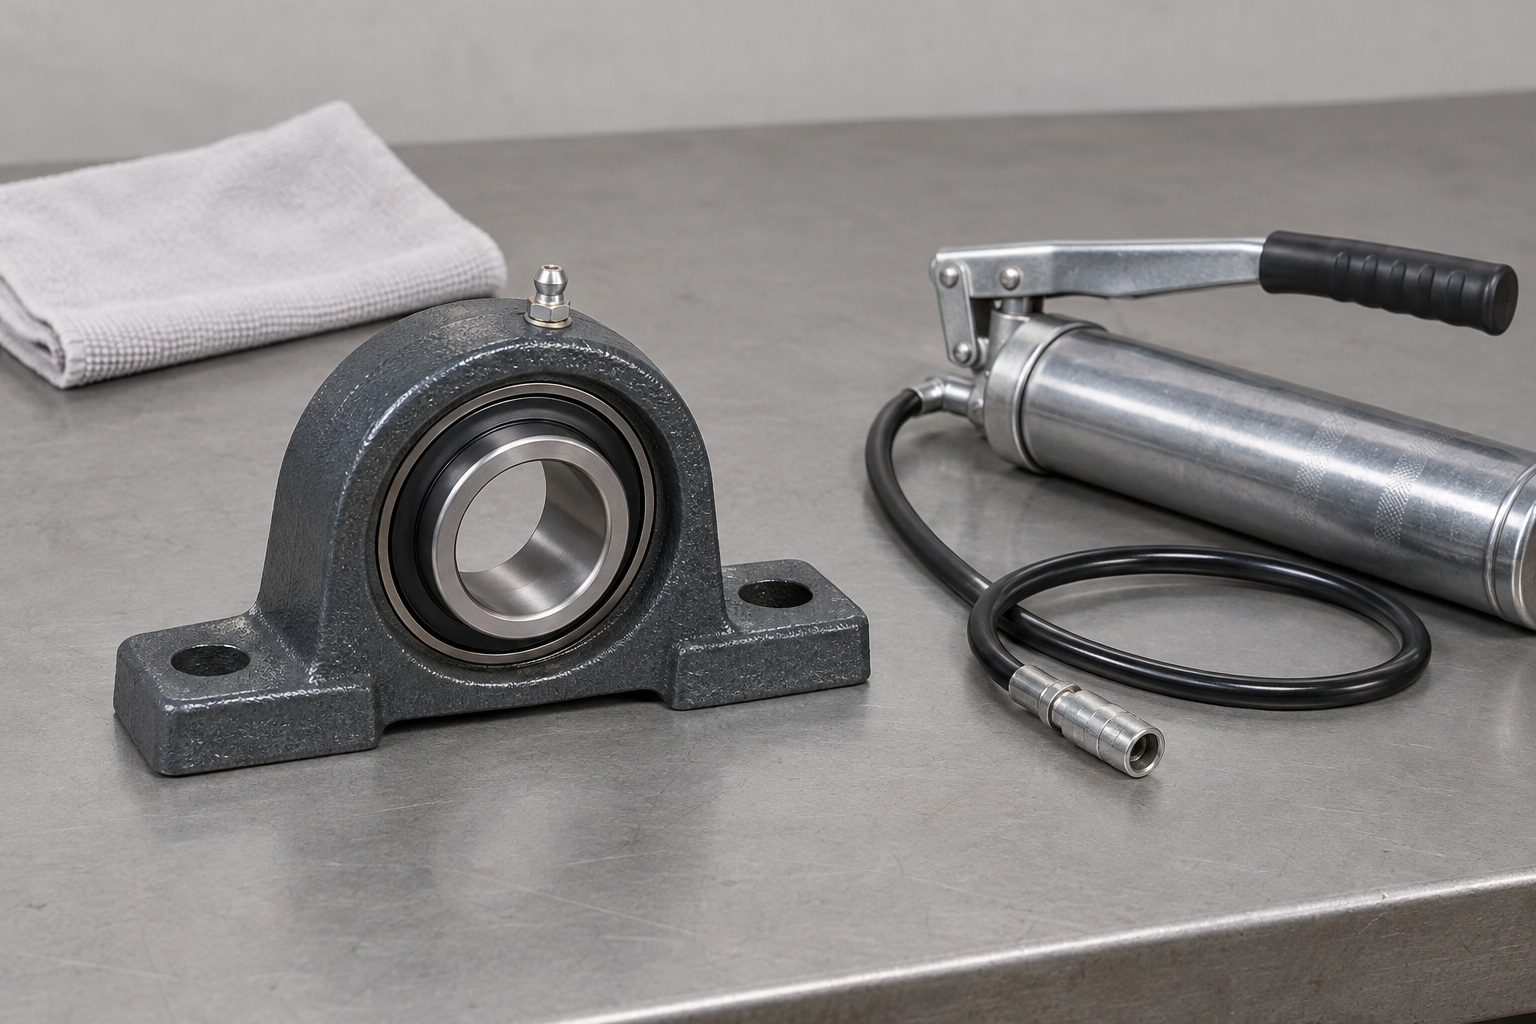
First Distinguish Resistance from Successful Relubrication
During a normal relubrication procedure, the gun, grease, hose, fitting, passage, bearing, seals, and any outlet form one delivery system. A change anywhere in that system can change the force felt at the grease gun.
Warning signs include an abruptly stopping or unusually difficult grease-gun handle; leakage at the coupler; unusual hose swelling, flexing, or damage; a moving or damaged fitting; no expected movement or purge where the product procedure specifies one; grease escaping from an unintended joint or seal; or rising bearing temperature after relubrication.
These signs do not identify the cause by themselves. They tell the technician to stop, isolate the equipment as required, and inspect the complete delivery path rather than continuing to build pressure.
Common Reasons a Mounted Bearing Will Not Take Grease
1. The grease-gun coupler is not seated correctly
A coupler that is misaligned, worn, contaminated, or incompatible with the fitting can leak or fail to open the fitting's check mechanism. The gun may be working while most of the grease remains at the connection.
Inspect the coupler and hose for visible damage. Confirm that the coupler type suits the fitting and that it engages squarely. Do not hold a leaking connection by hand while pressurizing it, and do not use an improvised adaptor that has not been approved for the lubrication system.
2. The grease fitting is dirty or damaged
Dust, dried residue, paint, corrosion, or physical damage can interfere with the fitting. A fitting may also have a check ball that no longer moves as intended.
Clean the exterior before connecting the gun so that dirt is not pushed into the lubrication path. If the product procedure permits fitting removal, depressurize and isolate the equipment first, then inspect or replace the fitting with the correct thread and type. Replacing a fitting without checking the downstream passage does not prove that the blockage has been removed.
The contamination-prevention guide explains why clean fittings, nozzles, and grease-storage practices matter during maintenance.
3. The grease is not pumpable under the current conditions
Grease flow changes with formulation, temperature, hose length, line size, and the condition of the grease. Cold or hardened grease may require substantially different delivery conditions from fresh grease at a moderate temperature. Schaeffler notes that grease can solidify at extreme temperatures and obstruct fresh-grease flow or metering components.[1]
Confirm the specified lubricant and its storage condition. Do not heat a cartridge, hose, housing, or bearing with an uncontrolled heat source. Do not mix grease simply to make pumping easier: incompatible thickeners can change consistency and performance. Follow the lubricant supplier's compatibility and pumpability information.
4. The housing passage is blocked
Old grease, hardened material, corrosion products, sealant, paint, or contamination may block a fitting port or internal passage. Long feed lines and metering devices introduce additional possible restriction points.
Do not clear an unknown passage by applying unlimited pressure. A high-pressure blockage can release suddenly, damage the hose or seals, or drive contamination into the bearing. Use the maintenance procedure for the actual housing and lubrication system. Where inspection requires disassembly, keep debris away from the bearing and record the orientation of fittings and passages.
5. The insert's lubrication feature does not align with the housing
When an insert bearing has been replaced separately, its outer-ring grease groove or hole may not match the housing passage. NTN cautions that manufacturers can position relubrication grooves or holes differently; a physically fitting insert may therefore fail to receive grease through the original housing path.[2]
Review the complete insert and housing designations. The article Can You Replace Only the Insert Bearing and Reuse the Housing? lists compatibility points including the spherical outside profile, anti-rotation features, lubrication position, and orientation.
6. Displaced grease has no suitable escape path
Fresh grease cannot enter indefinitely without space for movement or an outlet for displaced material. Some housings use an outlet, drain, relief feature, or free cavity; others rely on a product-specific purge path. Schaeffler and SKF both describe arrangements in which surplus grease needs a defined escape route to reduce over-greasing risk.[3][4]
Never remove a plug or open an outlet merely because another housing uses that method. Opening the wrong point can introduce contamination or release lubricant into an unsafe area. Confirm the location, operating state, and closing procedure in the exact product or equipment instructions.
7. The cavity may already contain too much grease
High resistance does not always mean the bearing is dry. The cavity may already be full, the previous relubrication quantity may have been excessive, or old grease may occupy the available space. Timken notes that both insufficient grease and excessive grease can raise operating temperature, with excess grease creating churning losses.[5]
Do not add grease solely because a calendar date has arrived. Review prior maintenance records, operating temperature, noise, leakage, grease condition, and the specified interval and quantity. The mounted-bearing lubrication guide explains why intervals should reflect actual service conditions.
8. The unit may not be designed for the attempted procedure
Not every bearing or mounted unit should be relubricated through an added fitting. Sealed-for-life, solid-lubricant, or special units may have different maintenance requirements. A fitting visible on nearby equipment is not proof that every unit on the machine uses the same procedure.
Confirm the complete model, suffixes, housing configuration, seal arrangement, and equipment manual. Do not drill a port or install a fitting in an unspecified location.
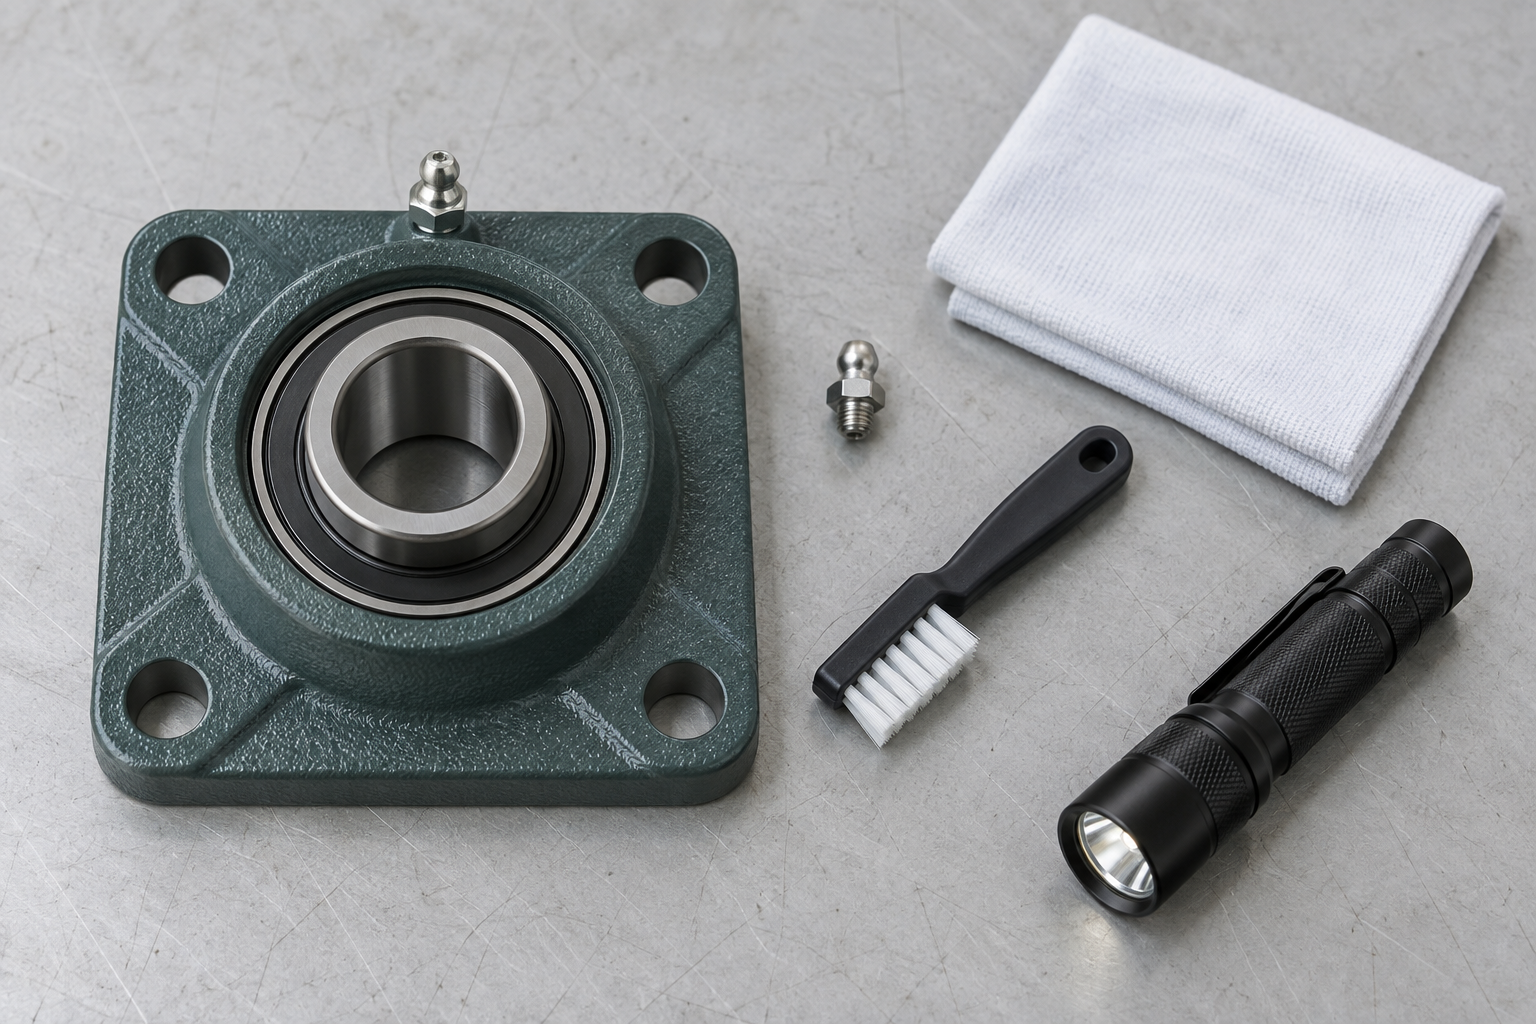
A Safe Diagnostic Sequence
Step 1: Stop and document the symptom
Do not continue increasing force after an abnormal change. Record which bearing position is affected, the grease used, ambient and bearing temperature, previous relubrication date and quantity, whether grease leaked at the coupler, and where any grease appeared.
Follow the site's energy-isolation and stored-pressure procedures before disconnecting, removing, or inspecting components.
Step 2: Verify the product and lubrication requirement
Record the complete insert and housing designations, suffixes, fitting location, and seal arrangement. Confirm whether the unit is relubricatable and locate the manufacturer's instruction for the exact model.
Step 3: Test the delivery equipment separately under its approved procedure
Inspect the grease gun, cartridge, hose, coupler, and any metering component. A tool fault should be separated from a bearing fault without discharging grease toward people or contaminating the work area. Follow the tool manufacturer's pressure-release and test procedure.
Step 4: Clean and inspect the external fitting
Clean the fitting exterior and inspect its position and condition. Confirm that the coupler engages correctly. Do not push sharp objects into an installed fitting because loosened debris can enter the passage.
Step 5: Confirm grease identity and condition
Check the lubricant designation, thickener compatibility, storage history, cartridge condition, and usable temperature range. If the grease is uncertain, stop and obtain confirmation rather than mixing products in the bearing.
Step 6: Verify the inlet, passage, and outlet as one system
Use the product drawing to trace where grease should enter, how it reaches the bearing, and where displaced grease can go. Confirm insert orientation and groove alignment if the unit has been rebuilt. Open drains or outlet plugs only when the exact instructions require it and contamination controls are in place.
Step 7: Inspect the result before returning to service
After the approved maintenance procedure, check for unintended leakage, fitting damage, seal displacement, abnormal resistance, temperature, noise, and vibration. The installation guide provides general post-installation checks, but product-specific instructions take priority.
What Not to Do
Do not use body weight, an extension handle, or a higher-pressure tool to defeat unexplained resistance. Do not hold a leaking hose, coupler, or fitting with a bare hand while it is pressurized. Do not heat the bearing or grease system with a flame or uncontrolled heater. Do not drill the housing, remove a seal, or create a relief hole without an approved design. Do not mix grease types to soften the material unless compatibility is documented. Do not assume that visible grease at one location proves fresh grease reached the rolling elements. Do not restart equipment when a fitting, seal, hose, or housing has been damaged during the attempt.
Information to Send for Technical Review
When asking Cixi CTZ or the equipment supplier to review the problem, provide the complete insert and housing model numbers; clear photos of the fitting, housing, seals, and installed orientation; grease brand and full product designation; grease-gun, hose, coupler, and delivery-system details; operating and ambient temperature; speed, load, duty cycle, and working environment; previous relubrication interval and quantity; where grease leaked or purged; whether the insert or fitting was recently replaced; and any change in noise, vibration, leakage, or bearing temperature.
Use the Contact page, email ctz@ctz-bearing.com, or WeChat DM161116. Cixi CTZ should review the actual model and application before giving product-specific lubrication instructions.
Conclusion
When a mounted bearing will not take grease, the resistance may be upstream at the tool or fitting, inside the grease or delivery passage, at an insert-to-housing mismatch, or downstream where displaced grease has no approved escape path. It can also indicate that the unit is already overfilled or is not intended for the attempted procedure.
Treat unusual resistance as a diagnostic signal. Stop adding pressure, identify the exact unit, check the complete grease path, follow the equipment and product instructions, and repair or replace damaged components before returning the machine to service.
Technical References
[1] Schaeffler, Rolling Bearing Lubrication. Used for grease pumpability, hardening, and blocked delivery paths.
[2] NTN Americas, Replacing Mounted Bearing Unit Inserts. Used for manufacturer differences in outer-ring relubrication groove or hole position.
[3] Schaeffler, Bearing Housings. Used for product-specific grease inlet and outlet arrangements and contamination cautions.
[4] SKF, Lubrication. Used for grease-feed position, outlet paths, contamination control, and over-greasing cautions.
[5] Timken, Tapered Roller Bearing Housed Units Installation and Lubrication Instructions. Used for the effects of insufficient and excessive grease and application-specific intervals.
Key Takeaways
- Unusual grease-gun resistance is a diagnostic signal, not a reason to apply more force.
- Check the tool, coupler, fitting, grease condition, passage, insert alignment, and approved outlet as one system.
- Confirm the exact product and its instructions before removing fittings or plugs, changing grease, or returning equipment to service.
Frequently Asked Questions
Why is my grease gun hard to pump on a pillow block bearing?
Possible causes include a poorly seated coupler, damaged fitting, cold or hardened grease, a blocked passage, an insert-and-housing lubrication mismatch, or no available purge path. Stop and identify the restriction instead of applying more force.
Should I keep pumping until grease comes out of the seal?
Not without the exact product procedure. Some manufacturers use visible purging as a guideline for particular units, while excessive grease or forced seal purging can create heat or damage. Follow the instructions for the actual bearing and equipment.
Can I replace the grease fitting if it is blocked?
Only after safely isolating and depressurizing the system and confirming the correct fitting type and thread. A new fitting will not solve a blocked downstream passage or incompatible insert orientation.
Can cold weather stop bearing grease from flowing?
Low temperature can reduce pumpability, depending on grease formulation and delivery-system design. Use the specified grease within its stated operating and pumpability limits; do not apply uncontrolled heat.
Does no visible purge mean that no grease entered the bearing?
Not necessarily. The intended grease route and purge indication vary by design. Confirm the exact housing and bearing instructions instead of judging solely by external appearance.
When should the mounted bearing unit be replaced?
Replacement or disassembly may be necessary when the fitting port, passage, housing, seals, or insert is damaged; the grease path cannot be restored; the insert and housing are incompatible; or abnormal temperature, noise, or vibration continues after the approved maintenance procedure.
Need bearing units for your market?
Send us the model number, quantity, packing requirement and destination port. Our sales team will reply with a competitive quotation and delivery schedule.
Send Inquiry